Date and place
- May 10th, 1796 at Lodi Bridge, upon the Adda river, southeast of Milan, Lombardy, Italy.
Involved forces
- French army (17,500 men) under General Napoleon Bonaparte.
- Austrian troops (9,500 men) under General Karl Philipp Sebottendorf.
Casualties and losses
- French army: around 1,000 men killed or wounded.
- Austrian troops: between 315 (according to austrian sources) and 1,100 (according to french sources) killed or injured.
Aerial panorama of Lodi battlefiedl
Overall situation
Napoleon Bonaparte, after passing the Po in Placentia [Piacenza], went up the right bank of the Adda, one of its tributaries in the north, in search of the flaw in the opposing device that will allow him to cross this new course of water and pursue the enemy.
The Austrian General-general Johann Pierre de Beaulieu-Marconnay, taken aback by a passage that took place 80 kilometers downstream of its forecasts, had just evacuated Milan [Milano] to retreat on Cremona.
Bonaparte initially planned to cross the Adda at Pizzighettone [45.18647, 9.77955]:
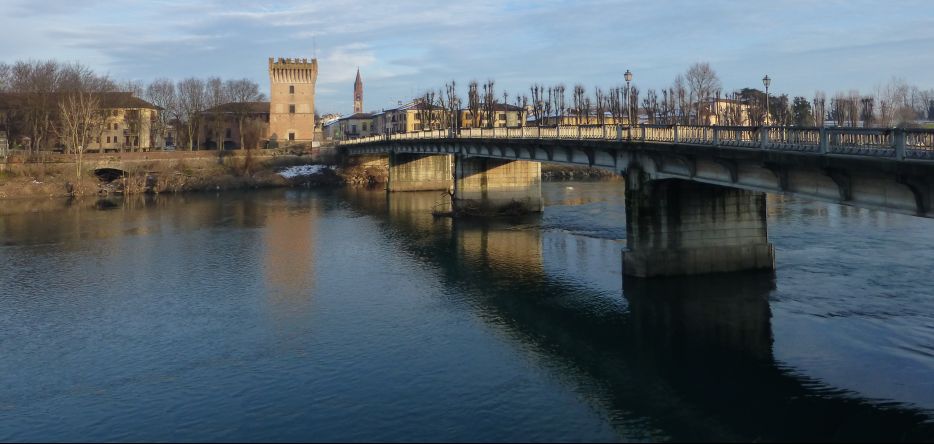
However, he gave it up, the city being too well defended.
He then tested the forces of the Austrian rearguard around Zorlesco
Then Bonaparte and Louis-Alexandre Berthier managed to find, in Lodi
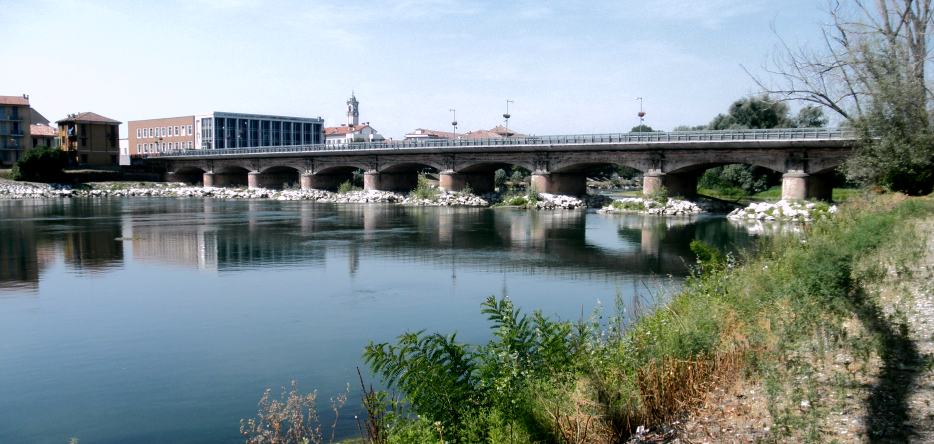
The bridge, twelve meters wide and almopst two hundred long, had just been used to cross the river by the last Austrian detachments who was still on the right bank of the Adda. It was defended by the Austrian rearguard, commanded by General Karl Philipp Sebottendorf, and if the latter had not yet been given the order to destroy it, it was because the Austrians were far from expecting to undergo so quickly a serious attack from the French.
But Bonaparte, quite the contrary, believing Beaulieu was present with all his forces behind Lodi, wanted to pass at all costs to prevent him from running away.
The fights
When arriving in front of the bridge, accompanied only by the cavalry of General Marc Antoine Bonnin of Bonninière de Beaumont
From there, in order to prevent them from approaching the structure and blowing it up, he cannoned for several hours the Austrians, located on the left bank
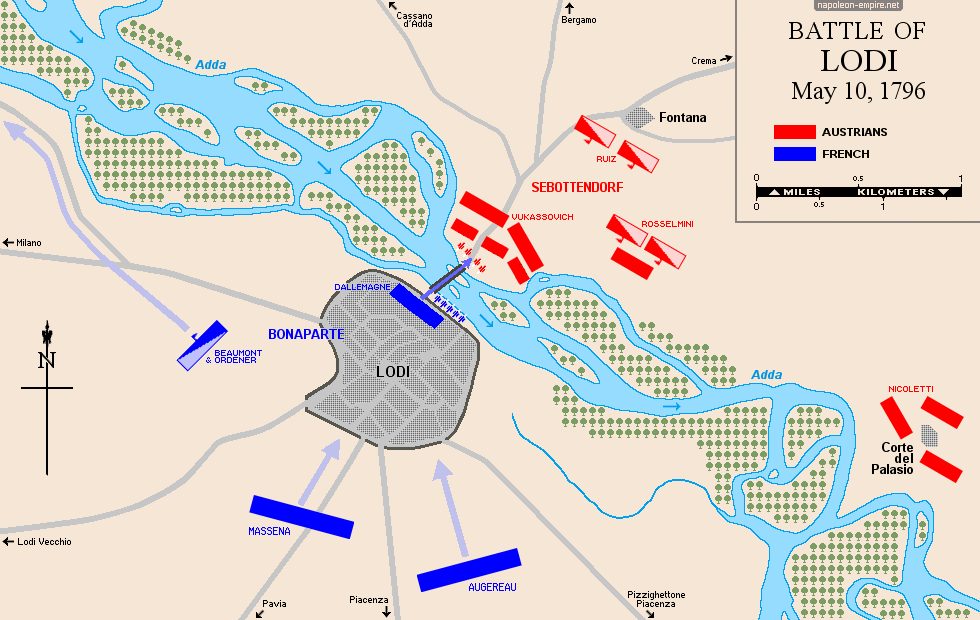
Sebottendorf pulled his troops out of reach from French fire and organized them in two lines:
- the first line comprised three battalions, equipped with twenty cannons which were taking the deck of the bridge in a row;
- the second one was formed of five other battalions, and was standing further behind, supported by the cavalry.
In total, General Sebottendorf had 9,500 men under his watch. French forces were almost twice as small.
Anticipating the difficulty of the passage, Bonaparte, after examining the enemy position from the top of the campanile of Santa Chiara, sent his cavalry and the light artillery upstream:
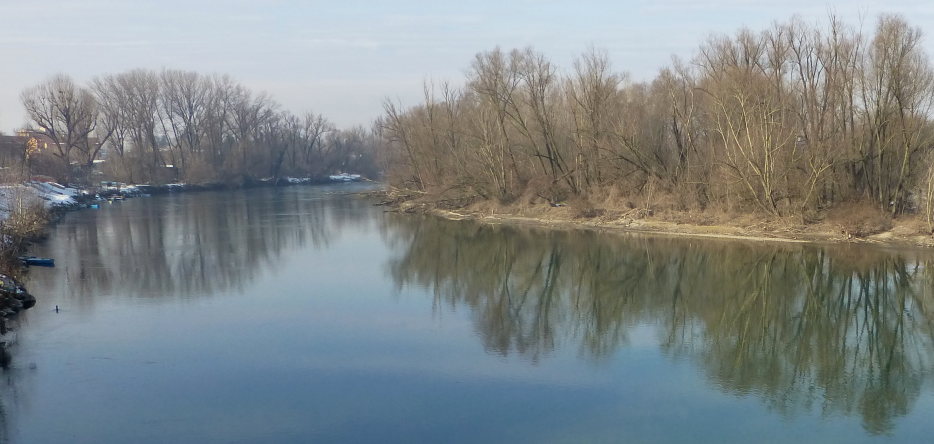
Their mission was to seek a ford towards the north, on the side of Montanasso [Montanaso Lombardo] [45.33520, 9.47130]. Bonaparte was hoping to see them come out a few hours later on the right side of the Austrian apparatus. He would then command his infantry to attack the bridge.
Toward the end of the afternoon, while Beaumont still did not show up, the 6,000 men of the Masséna division presented themselves on the battlefield after having walked since six in the morning. Bonaparte decided to play his all-out and to attempt the assault without waiting further.
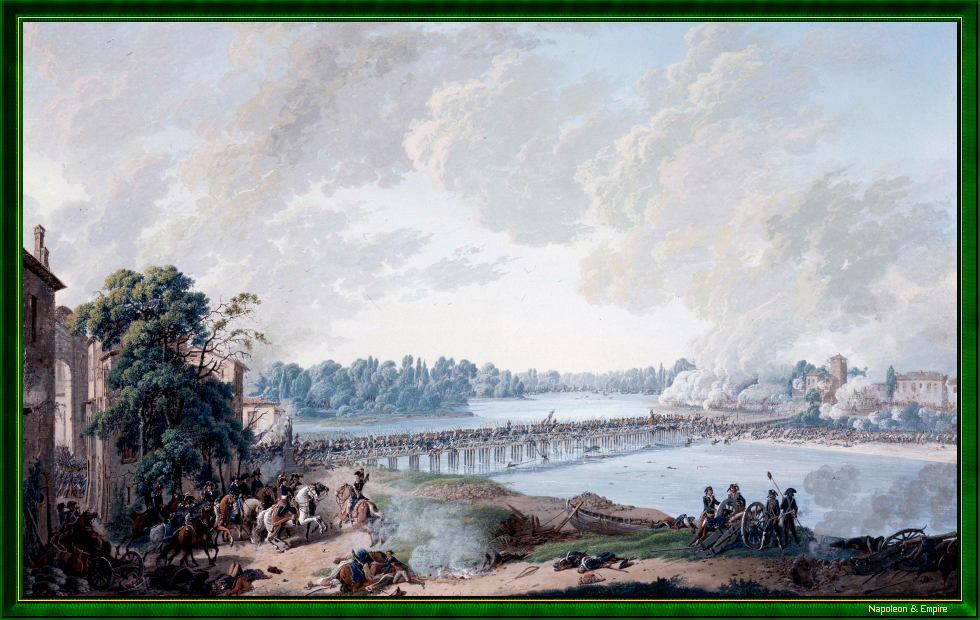
A short rest got granted to the troops newly arrived, around nineteen hours, the second regiment of Carabineers, composed of Savoyards, received the order to cross the bridge first. The grenadiers, who had organized themselves in a tight column behind the ramparts of the city, were commanded to follow.
At the scream of "Long live the Republic", the Savoyards advanced under the orders of their battalion commander Pierre Louis Dupas
Immediately, Generals Masséna, Berthier, Dallemagne and Cervoni
Simultaneously, some skirmishers managed to swim across the river, diverting some of the defenders' attention. A furious bayonet fight began. The Austrians were pushed back behind their own artillery. The rest of the Masséna division followed and extended on each side. The Augereau division, meanwhile, passed in turn and took position on the left bank.
Sebottendorf then ordered the retreat. Beaumont, long delayed by the poor quality of the ford he was crossing, finally appeared on the battlefield, but too late to intervene effectively in the pursuit. As a result, the Austrians managed to stay in the village of Fontana [45.33025, 9.52929], 2 kilometers northeast of the bridge, until nightfall.
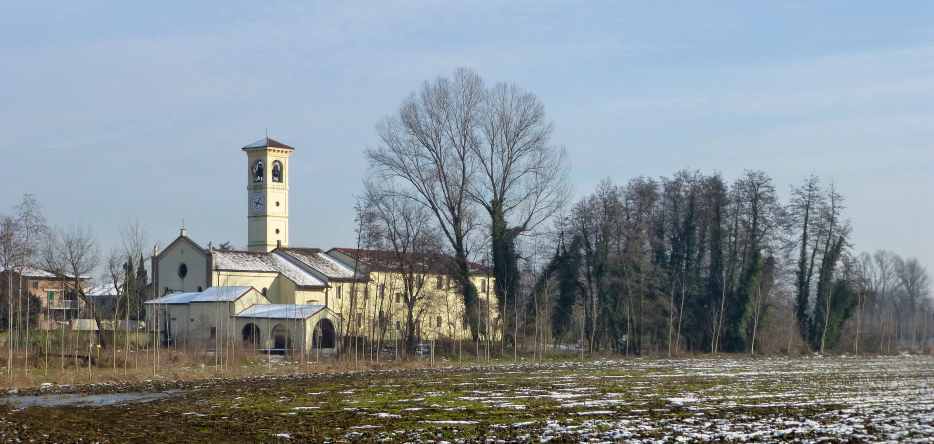
The Austrians then retreated further east, to the town of Crema
They were not vigorously pursued by the exhausted Frenchmen, who stopped at Tormo
On the night of the battle, Napoleon Bonaparte set up his headquarters at Palazzo Modignani
Results and consequences
The fight caused the death of around 2,000 soldiers and 14 to 20 guns on the Austrian side. The French lost only about a thousand men.
The Battle of Lodi Bridge is the victorious conclusion of the second act of the Italian Campaign. The withdrawal of the Austrians beyond the Mincio River, with the abandonment of strongholds such as Cremona and Pavia, gave the French control of Lombardy. A few days later, on May 15, they entered peacefully in Milan, empty of enemies.
However, Bonaparte had to let escape both the rearguard and the bulk of the Austrian forces. The brilliance of the act of arms was going to help conceal the absence of the expected strategic results.
« Until then, there was no other example of a bridge, that well defended, being taken »
P. G[ayant], Tableau des guerres de la Révolution de 1792 à 1815, Paris, Paulin, 1838, p. 120.
Map of the battle of Lodi, May 10th, 1796
Picture - "The French Army crossing the Lodi Bridge". Painted 1797 by Louis-Albert-Ghislain Bacler d'Albe.
This battle gave, as early as 1798, its name to the Rue du Pont-de-Lodi in the 6th arrondissement of Paris.
Panoramic video of Lodi battlefield
 Display the Map of the First campaign in Italy (1796-97)